How to Make Video into Time Lapse: A Comprehensive Guide
In the fast-paced world of digital photography and videography, time lapse videos stand out as one of the most visually appealing forms of expression. Whether you are a seasoned photographer, a budding videographer, or someone simply interested in transforming your videos, this guide will delve into how to effectively make video into time lapse. Harness the power of this technique to captivate your audience and showcase your projects like never before.
The Art of Time Lapse Video Creation
Creating a time lapse video is more than just speeding up footage; it is an art form that requires careful planning, execution, and post-processing. Historically, time lapse was a method used in filmmaking, primarily to illustrate the passage of time through natural processes such as flower blooming or cloud movement. Today, thanks to advancements in technology and software, anyone can make video into time lapse with relative ease.
The Importance of Time Lapse in Photography
Time lapse photography offers several compelling benefits that can elevate your work:
- Enhances storytelling: Time lapse videos can convey a narrative that a standard video might miss. They can show transformations and progressions effectively.
- Engages your audience: Fast-paced visuals tend to capture attention quickly, making them ideal for social media platforms where users scroll rapidly.
- Showcases skills: By learning how to create time lapse videos, photographers and videographers can expand their skill set and repertoire, impressing clients and viewers alike.
Preparation: Steps Before Filming Your Time Lapse Video
To create a stunning time lapse video, follow these preparatory steps:
1. Define Your Subject
Choose a subject that demonstrates significant change over time. Popular options include:
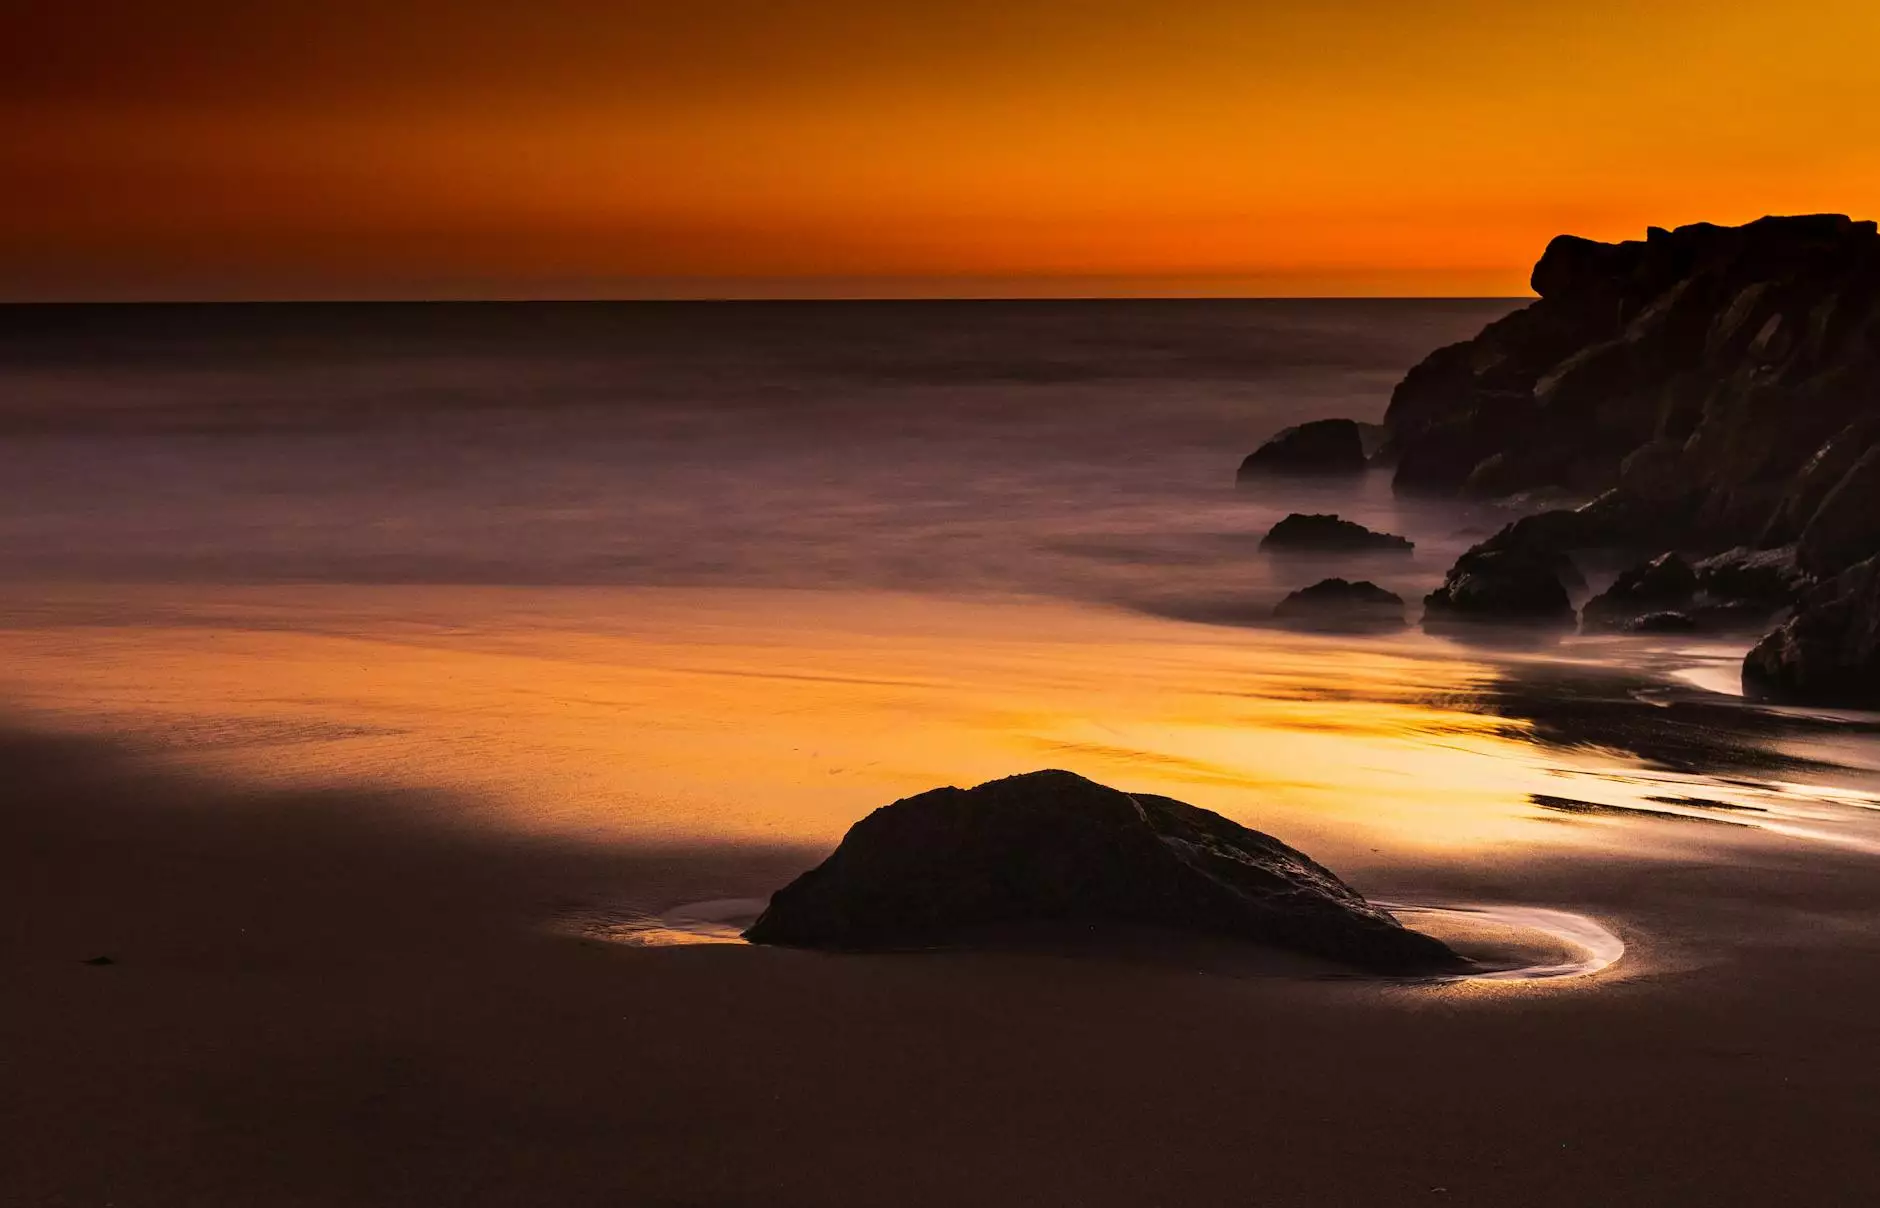
- Nature scenes (sunrise, sunset, weather changes)
- Urban environments (traffic flow, construction projects)
- Events (weddings, parties, festivals)
2. Choose the Right Equipment
Investing in the right tools can substantially improve the quality of your time lapse videos. Key equipment includes:
- Camera: A DSLR or mirrorless camera with manual settings is ideal for time lapse photography.
- Tripod: Stability is crucial, so use a sturdy tripod to keep your frame steady.
- Intervalometer: This device will control the intervals at which pictures are taken automatically, allowing for consistent timing.
3. Set Your Camera Settings
Adjust the following camera settings to ensure all your shots maintain the same exposure:
- Aperture: Keep it consistent to avoid flickering.
- ISO: Set it low for better image quality.
- Shutter Speed: This should complement your filming style and the speed of the subject.
Filming Your Time Lapse Video
Once your preparations are complete, it’s time to start filming. Here are essential tips for capturing great time lapse footage:
1. Set the Interval
The right interval time between shots is crucial. This interval will depend on the movement speed of your subject. For example, photographing clouds may only require 5-10 seconds between shots, while a construction project may need intervals of several minutes or hours.
2. Monitor Battery Life and Storage
Ensure your camera battery is fully charged, and you have ample storage space. Time lapse projects can take a long time to film, so it’s essential to be prepared to avoid interruptions.
3. Keep it Steady
Utilizing a tripod or stable surface is imperative. Even minor camera movement can lead to significant disruptions in your final product.
Post-Production: Making the Magic Happen
After capturing your footage, the real fun begins: editing. Making video into time lapse involves several steps to ensure a smooth and visually appealing final product.
1. Choose Your Editing Software
Select software that suits your expertise. Some popular options include:
- Adobe Premiere Pro: A professional-grade software that offers extensive features for video editing.
- Final Cut Pro: A perfect choice for Mac users, known for its intuitive interface.
- iMovie: A free, user-friendly option for beginners.
2. Upload Your Footage
Import your captured images or video clips into your chosen editing software. Arrange them in the desired sequence to create a continuous flow.
3. Adjust Playback Speed
To make video into time lapse, you will need to speed up the footage dramatically. Most editing software allows you to adjust the speed and even set a specific frame rate to get the desired fast-motion effect.
4. Refine Your Edits
Once the speed is set, review your footage. You might want to add transitions, music, or effects to enhance the viewer's experience further.
5. Export Your Video
After finalizing your edits, export the video in a suitable format for your intended use, whether for social media or professional presentations.
Utilizing Your Time Lapse Videos
Now that you have created an incredible time lapse video, it’s time to share your work! Consider these platforms for showcasing your content:
1. Social Media
Share your time lapse videos on platforms like Instagram, Facebook, and TikTok to reach a wider audience. Keep in mind that visual content tends to perform better when tailored to platform specifications.
2. Portfolio Development
Time lapse videos can be an excellent addition to your portfolio, showcasing your skills in photography and videography. They can attract potential clients looking for innovative content.
3. Promote Through Your Website
If you run a photography business, as showcased on bonomotion.com, integrate your time lapse videos into your website to enhance your service offerings and keep visitors engaged.
Common Mistakes to Avoid
Even seasoned photographers may fall victim to some common pitfalls when creating time lapse videos. Here are several mistakes to avoid:
1. Inconsistent Settings
Flickering or inconsistent footage can be caused by changes in exposure, aperture, or shutter speed. It is vital to maintain uniform settings throughout your shoot.
2. Poor Subject Choice
Choosing a subject with minimal movement can lead to unremarkable footage. Always select a dynamic subject that showcases change over time.
3. Underestimating Time Constraints
A time lapse can take a long time to capture. Ensure you allocate enough time for filming before the lighting conditions change or you run out of battery/storage.
Conclusion
In conclusion, making video into time lapse is a rewarding process that can enhance your photography and videography portfolio. By following the steps outlined in this guide, you can create stunning time lapse videos that resonate with your audience. Remember to invest in the right equipment, plan your shoots meticulously, and edit diligently to produce videos that stand out in today’s digital landscape. At bonomotion.com, we encourage you to explore this captivating form of storytelling and showcase your creativity through time lapse photography.